SAML Corteza Integration with Okta
To enable SAML SSO on Corteza through Okta you need to create a new application on the Okta IdP as well as configure it on the Corteza Admin web application.
|
The values used in the screenshot and the table are for informational use only and should be changed to reflect your instance settings. |
Adding a New Application in Okta
Navigate to https://www.okta.com/ and login to your Okta account. If you don’t have an account, create one before continuing.
|
For the documentation purposes, a trial Okta account has been created. The trial version may not support all the features that are in the subscription version, but the basic features for the SAML SSO are included. For more help on Okta, head to their official support site. |
Firstly, create a new application by navigating to the side-menu.

Click on the Create App Integration button and choose SAML 2.0 integration.

The application wizard guides you to the next screen where you specify the name and the logo of your application. Once finished, click on the Next button.

On the next screen you need to configure Okta with the SAML parameters of your service provider, in this case, your Corteza instance where SAML is configured. Once configured, click on the Next button to continue on the optional feedback step.

On the optional feedback step, click on the finish button to complete your Okta configuration.

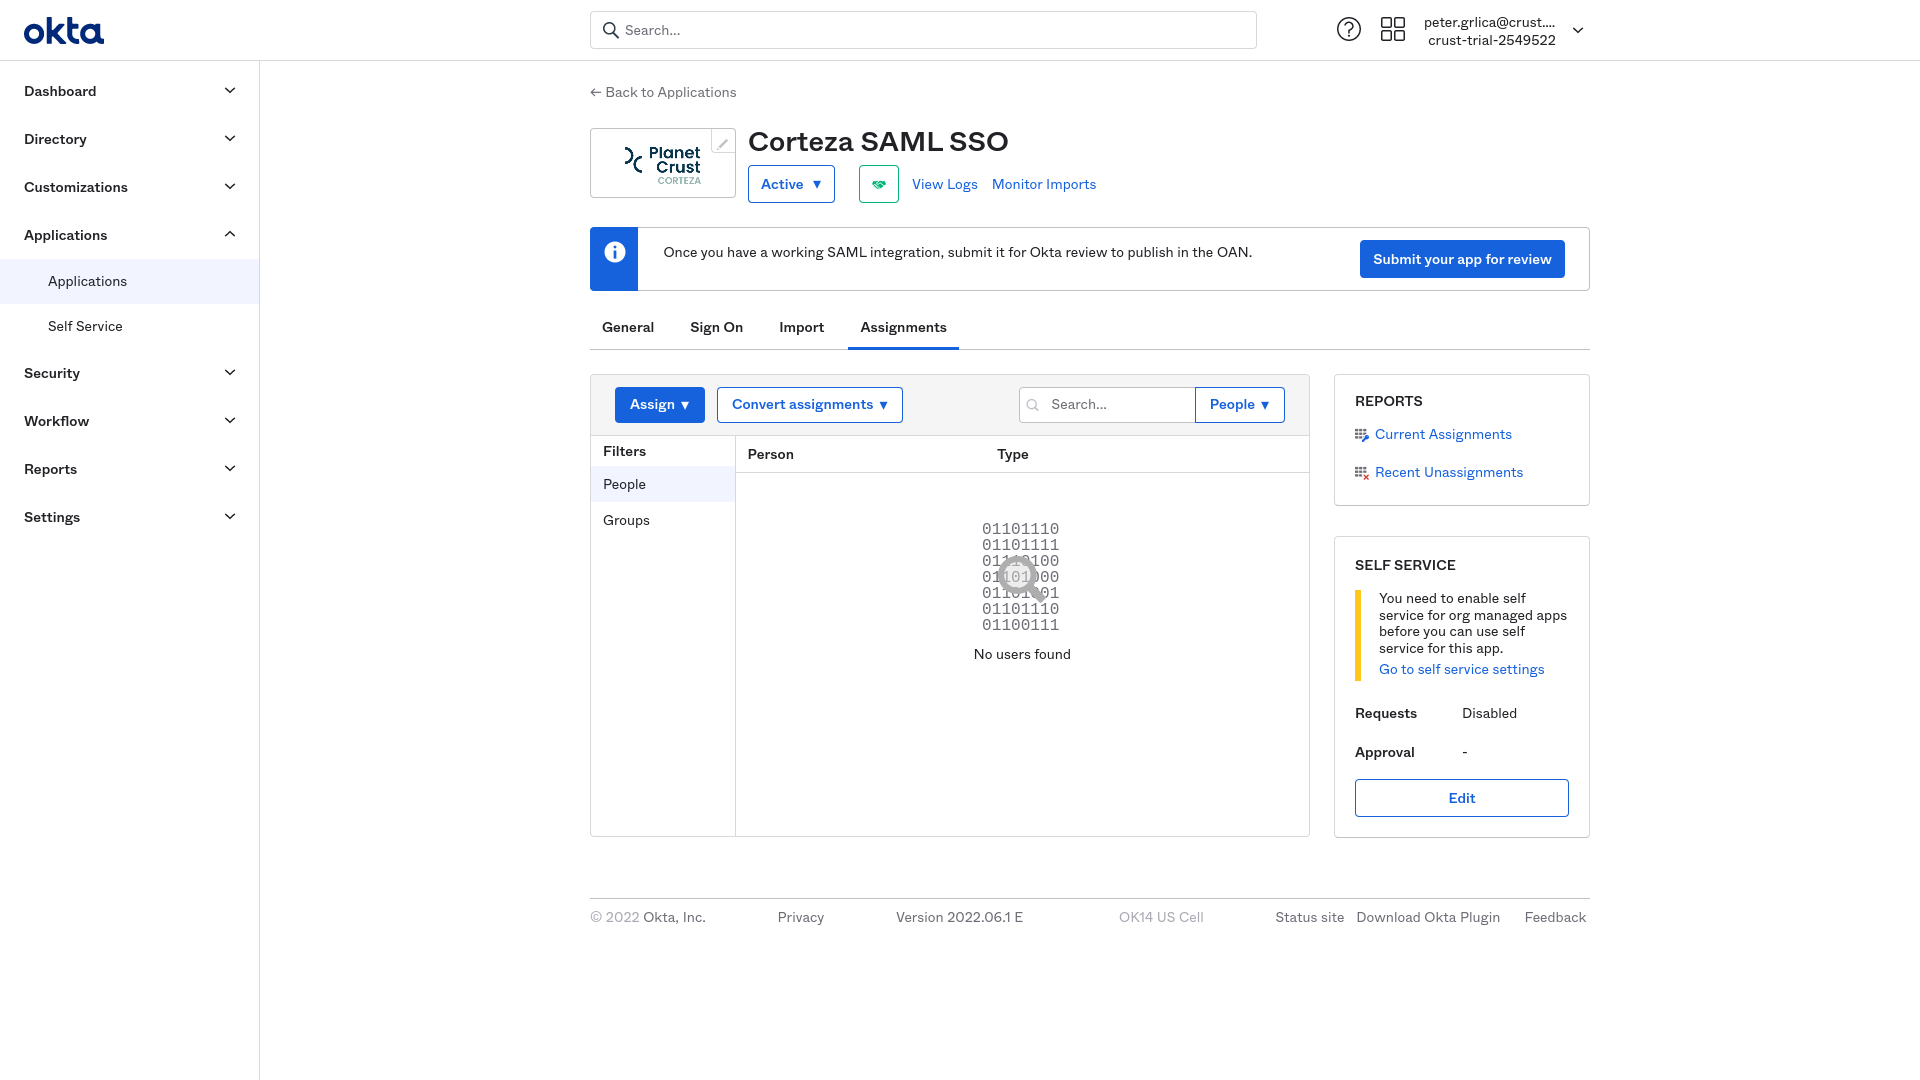
After the application is created, you can preview it in the side-menu. This is where you fulfil the user management as the created application needs to be connected to the users that will be using it.
Okta SAML application settings
| Setting | Value |
|---|---|
Single Sign On URL |
https://your-corteza-instance.tld/auth/external/saml/callback |
Recipient URL |
https://your-corteza-instance.tld/auth/external/saml/callback |
Destination URL |
https://your-corteza-instance.tld/auth/external/saml/callback |
Audience Restriction |
https://your-corteza-instance.tld/auth/external/saml/metadata |
Name ID Format |
EmailAddress |
Adding the Okta Settings to Corteza
After configuring the application on Okta you will need to configure Corteza with the parameters provided by Okta.
Navigate to Corteza Admin, navigate to and click on the wrench icon next to the SAML external authentication provider.

The Okta related settings are specified in the identity provider section, where a metadata URL needs to be provided.
|
How to generate the metadata URL for Okta is available here. |

You can find more info on creating the certificate on the SAML page.

Publish the settings by clicking on the OK button.

Corteza Okta SAML application settings
| Setting | Value |
|---|---|
URL |
https://okta-example-instance.okta.com/app/exk1fgv7123/sso/saml/metadata |
Name field |
http://schemas.xmlsoap.org/ws/2005/05/identity/claims/givenname |
Handle field |
http://schemas.microsoft.com/identity/claims/objectidentifier |
Identifier field |