Corteza Federation
|
Corteza Federation is currently in experimental mode and the federation function is disabled by default.
Set the |
Corteza Federation enables different Corteza instances to establish a federated network to freely and securely exchange information.
This document helps you through the process of setting up your federated network and configuring data sharing.
Federated Nodes
A federated node is a Corteza instance (server) with the Federation feature enabled.
A node can expose data to its destination nodes (acts as an origin), or consume shared data from its origin nodes (acts as a destination).
|
A node can be both the origin and a destination. |
Before we can exchange any data between the nodes, they need to go through the node pairing process.
Node pairing
-
the origin node registers a destination node,
-
the origin node sends an invite to the destination node,
-
the destination node accepts the invite, either via email or via some other channel,
-
the origin node accepts the handshake request sent by the destination node.
|
You can start the node pairing process from any node. |
-
navigate to the Corteza Admin,
-
click on the "Nodes" under "Federation" in the navigation drawer,
-
click on the "new" button,
-
provide the requested data regarding node we wish to connect with,
-
press the "Submit" button.
-
navigate to the Corteza Admin,
-
click on the "Nodes" under "Federation" in the navigation drawer,
-
click on the node you wish to send an invitation for,
-
click on the "Generate Federation Link" button and either
-
copy the invitation URL, or
-
insert the contact email of the digital location the invite should be sent to.
-
|
The generated invite URL includes a secure OTT token, so make sure to send it over a secure channel. |
-
click on the "Pair Federation Node" button,
-
enter the received URL and confirm.
|
The node pairing does not proceed until the pairing URL is inserted, and the handshake request is accepted by the other party. |
-
navigate to the Corteza Admin,
-
click on the "Nodes" under "Federation" in the navigation drawer,
-
click on the … button, // @todo
-
enter the received URL and confirm.
|
The node pairing does not proceed until the pairing URL is inserted, and the handshake request is accepted by the other party. |
-
navigate to the Corteza Admin,
-
click on the "Nodes" under "Federation" in the navigation drawer,
-
click on the node you wish to accept the request for,
-
click on the warning icon to confirm the request.
|
This final step is done on the origin server (the one that initiated the handshake). |
Data Synchronization
When two nodes have successfully performed the node pairing process, we can share the data between the two nodes.
|
Shared modules are created by the Federation system and can not be manually removed or updated. |
Sharing data
An origin node can share data with it’s paired destination nodes.
An origin node defines what modules a specific destination node is allowed to access.
|
You can only share data with nodes that have been successfully paired. |
-
navigate to Corteza Low Code,
-
enter the namespace administration area,
-
navigate to the "Modules" sub-page,
-
click on the edit icon next to the module you wish to share,
-
click on "Federation Settings",
-
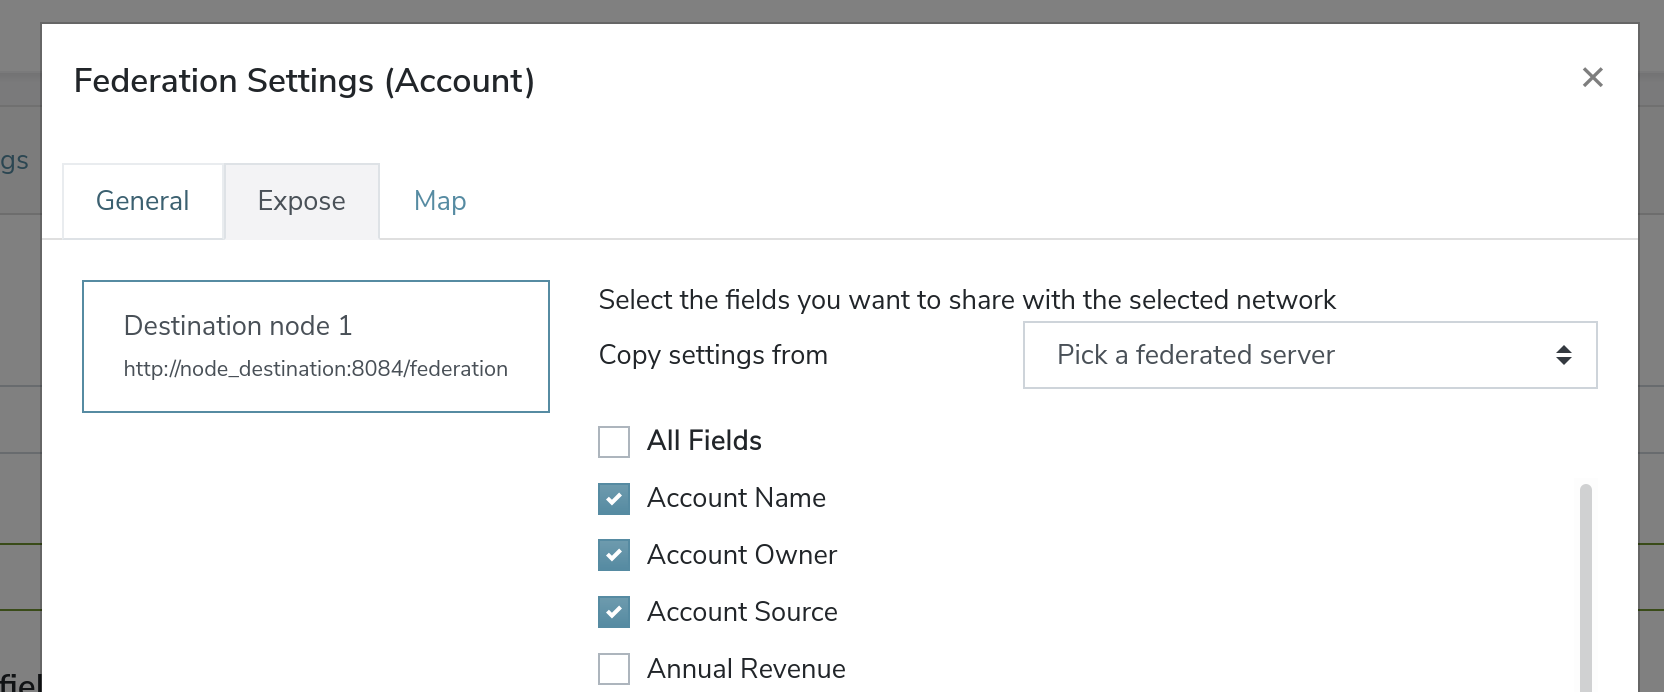
go to the "Expose" tab,
-
select a node you wish to share the module to,
-
select the fields you wish to share with the module,
-
save the changes.
|
You can copy "Exposed" settings from other nodes by selecting the desired node from the "Copy settings from" dropdown. |

Consume shared data
A destination node can consume shared data from it’s paired origin node.
A destination node defines what modules it wishes to access and how values map in the destination module.
|
You can only consume data from nodes that we successfully paired. |
-
navigate to Corteza Low Code,
-
enter the namespace administration area,
-
navigate to the "Modules" subpage,
-
click on the edit icon next to the module you wish to consume data into,
-
click on "Federation Settings",
-
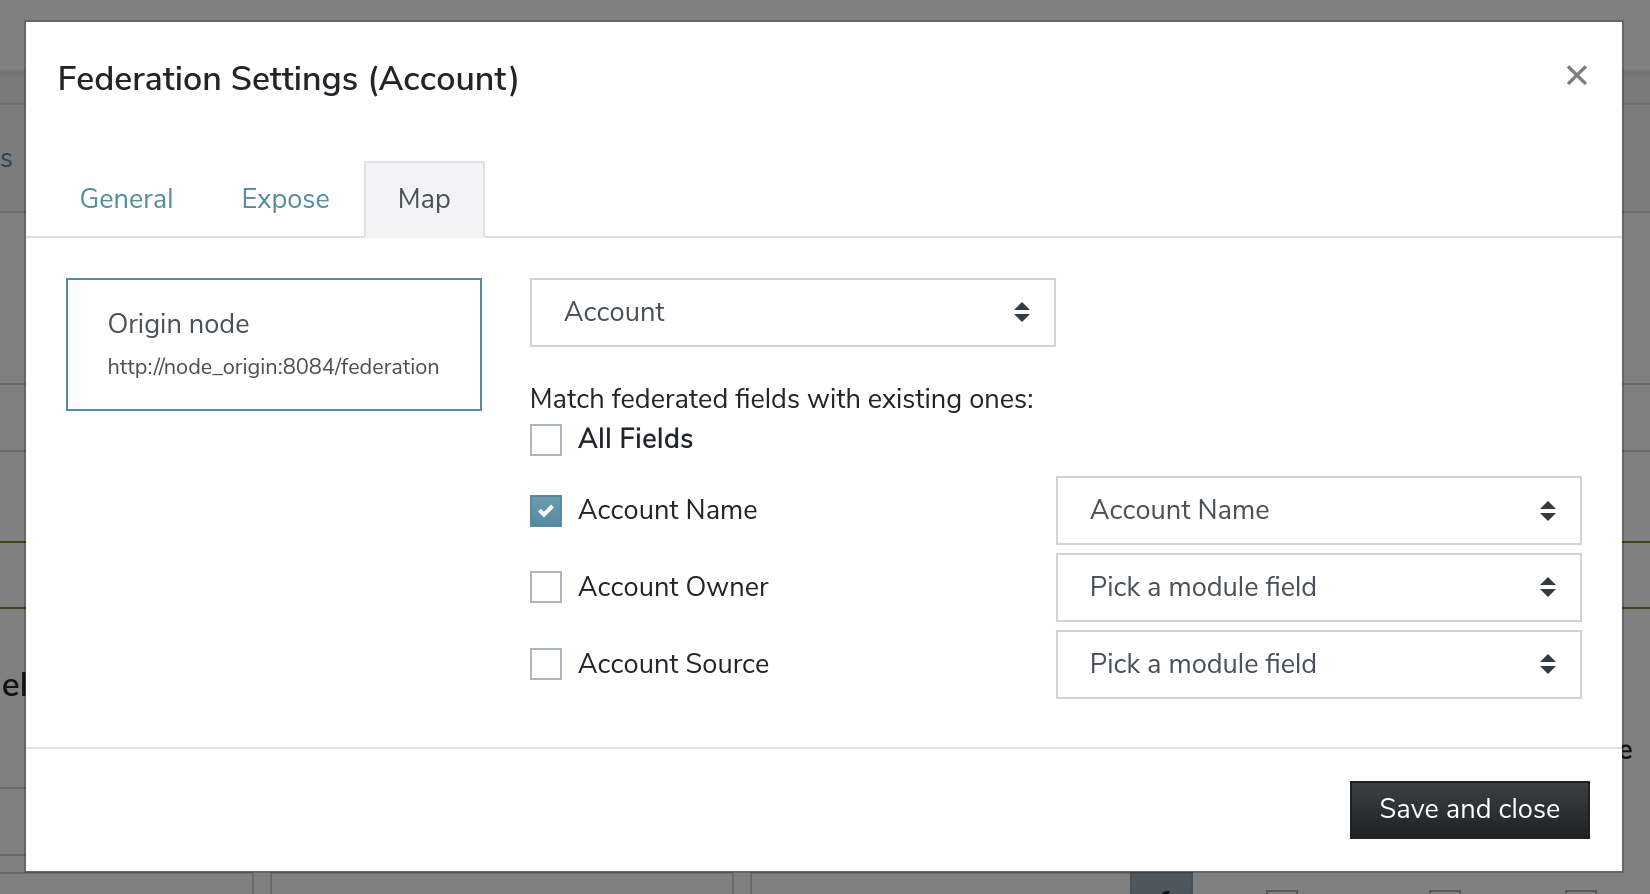
go to the "Map" tab,
-
select a node you wish to consume the data from,
-
select what shared fields map into what module fields,
-
save the changes.
